This post may contain affiliate links. If you click an affiliate link and make a purchase, I may earn a commission. Also, as an Amazon Associate, I earn from qualifying purchases.--
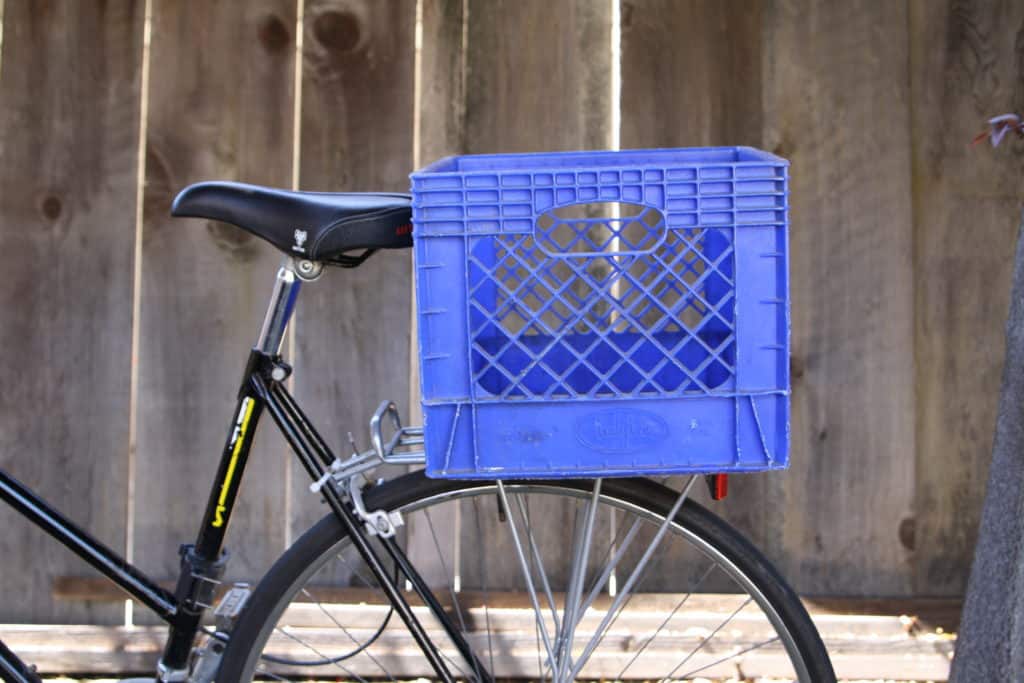
Once you begin riding your bicycle around town you’ll quickly learn that you need to have a method to carry your stuff. There are multiple ways (panniers, backpacks, straps, racks, etc.) to carry your groceries, work supplies, etc., but one of the classic and cheapest methods is to attach a milk crate to your bike.
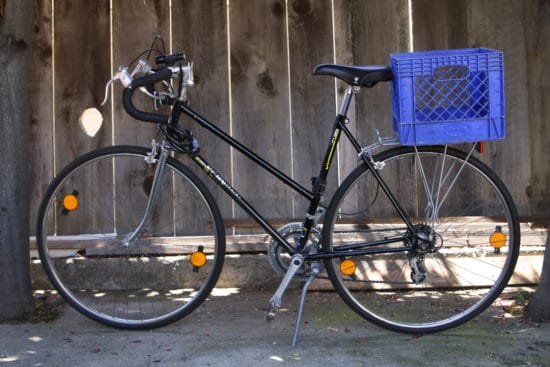
The traditional milk crate on a bicycle method is functional, cheap, and very easy to install.
In this article I will give step-by-step instructions on how to secure a milk crate onto a bicycle.
Method 1 – Zip Ties (Recommended)
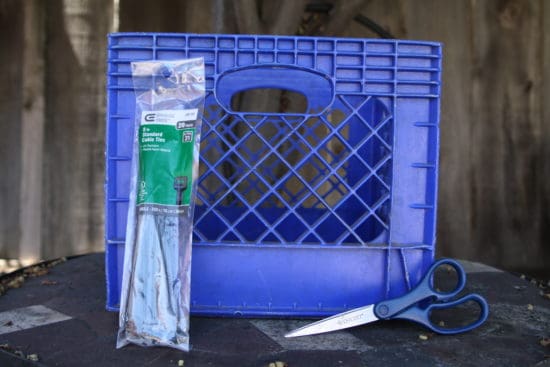
The only three supplies you’ll need are: basic scissors, 4 zip ties, and a milk crate. The zip ties (their technical title is cable ties) that I purchased were 8 inches long.
I was able to find them at Home Depot (a hardware supply store) for around $4. I was looking for the cheapest and smallest ties. You’ll need at least 4 zip ties, perhaps more if you want to go above and beyond at locking the crate to your bike.
The zip ties don’t need to be 8 inches. You would be fine with 4 inch ties. I found these zip ties on Amazon that would do the trick.
You will also need to have a rack attached to your bicycle. The crate will attach directly on the rack.
Where to get a milk crate?
You can purchase a milk crate from Amazon for cheap (you can check out a simple crate on Amazon here).
This is my number one recommendation as it’s legal and guaranteed. Search around the internet and you’ll have others telling you exactly where you can take a milk crate for free, but don’t be fooled – if you go behind a store and take a milk crate you are stealing.
The other option is to ask around. The blue milk crate that I used was given to me for free from a friend. You’d be surprised how many people have these plastic crates sitting around in their garages. Start asking friends and family. Maybe someone will have one that can you get for free!
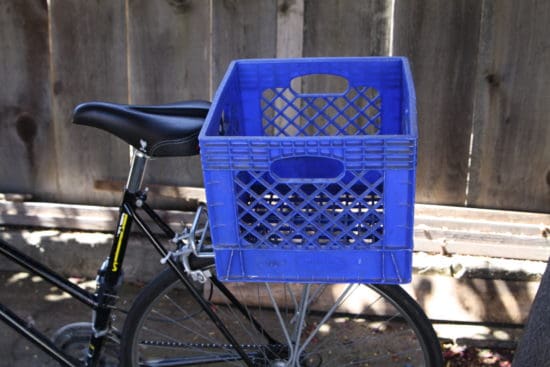
Start by placing the milk crate onto the rack, and making sure it’s aligned properly.
It should be sitting right in the middle of the rack so that it’s evenly distributed.
You don’t want one side to be hanging farther off the side of the rack than the other. Depending on how you sit on the saddle you may want to set the crate a small distance away from the saddle so you won’t rub or sit on the edge of the crate.
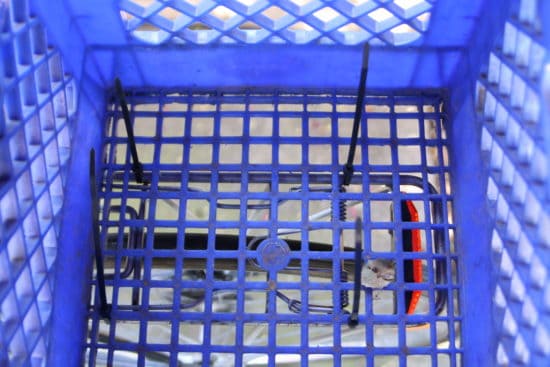
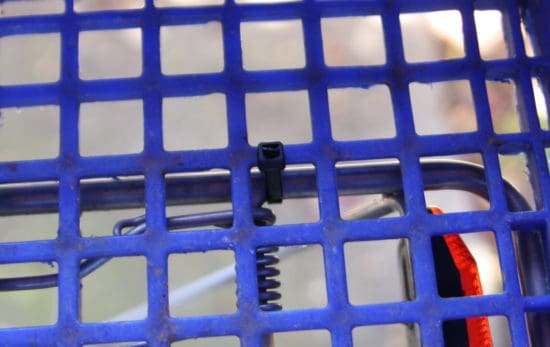
Next use your zip ties around the plastic crate grid and metal rack. Ensure that each cable tie is tightened as much as possible. After using four zip ties I gave the crate a shake. It was unmovable and tightly secured to the rack. If you’re crate is still moving than I would advise using more zip ties until you are confident that it won’t come off.
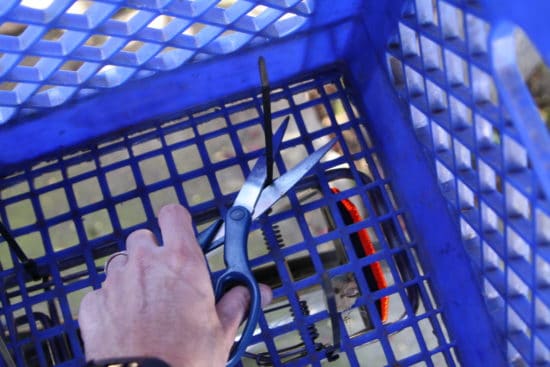
For the next step, you’ll need your handy dandy scissors. Cut off any excess from the zip ties.
The zip ties have been cut down so as not to interfere with anything that’s placed in the crate.
And that’s it! You have officially attached a milk crate onto your bicycle! It’s really that simple. Give it a quick spin around the neighborhood to ensure that it’s fastened correctly and not going to fly off. If you had to purchase the crates and zip ties you’re looking at a $20 expense approximately.
Method 2 – Bungee Cords (works, but not the best)
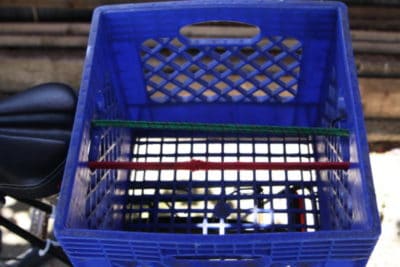
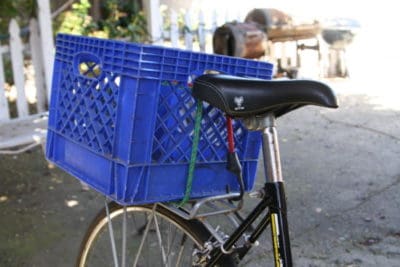
Another method to put a crate on a bike is with bungee cords. This method will get the job done, but is not the best solution. I used two bungee cords for the job.
One bungee cord was approximately 16 inches long and the other about 20 inches long. I placed the crate on the rack and fed the cords through the crate’s handles. This kept the crate pressed down onto the rack and ensured that it wouldn’t be able to slide off sideways.
There was no rhyme or rhythm to the rest of it other than I pulled the cords as tight as they could go before attaching them to the rack.
The positives of attaching a crate with only bungee cords is that it can be done very quickly.
Not only can you attach the crate to your bicycle in a matter of minutes, but you can remove it in a matter of seconds. This is not a permanent fixture on your bicycle. If you only need the crate for a single quick errand to a store than this could be the job for you. Once you’re done with the crate you can easily remove it compared to the zip tie method.
With this said, there are negatives to using the bungee cord method. The cords going through the top of the crate can be a nuisance if you’re trying to fully fill the crate.
It’s nice that they can be used to help keep things in the crate, but they also limit the amount and size of things that you need to transport on the bike.
Secondly, this method isn’t quite as secure as the zip tie method mentioned previously. The crate has a little give in it, and if it was full of heavier items than I could imagine it slightly moving around while pedaling. It wasn’t going to fall off the back of the rack, but it definitely wasn’t “unmovable” like it was with the zip ties.
Lastly, this method visually looks wonky. I understand that you’re already placing a plastic milk crate onto your bicycle. You probably don’t care how your bike looks at this point, but the bungee cords do give it a more makeshift look.
I hope one of these methods works for you!
These are only two ways you can attach a milk crate onto a bike. You could also use twine, rope, or even Velcro straps. The most important thing is to make sure that the crate isn’t going to go anywhere while you are out riding.
However you attach your crate you’ll want to shake it and give it a mini-test ride before going for a longer ride. I hope you’re able to get on the bike and ride today. Happy commuting!