This post may contain affiliate links. If you click an affiliate link and make a purchase, I may earn a commission. Also, as an Amazon Associate, I earn from qualifying purchases.--
Most of us enjoy racing through the streets or the rugged mountains on our bikes. Some of us even enjoy calm and pleasant rides through parks or gardens. One of the key aspects of your bike’s functioning system is the brakes.
The brakes are the part that makes it possible to adjust the speed of your bike according to your needs.
Bikes with dysfunctional brakes are a serious security concern. Bike brakes that get stuck can lead to accidents for you and the people nearby.
So why are your bike brakes not releasing? It could be due to damaged rim or discs, dirt build-up, friction or kinks in your cables, worn-out brake pads, and other issues.
In this article, we will review the different kinds of bike brakes, all the reasons why they might be stuck, and how to combat such issues.
Types of Bike Brakes
The most common brakes are disc or rim brakes, but some lesser-known brakes also need to be examined. The multitude of brake systems can be distinguished based on the brake power they give, how they are integrated into the bike’s assembly, how they are supposed to be used, and their cost, along with other factors.
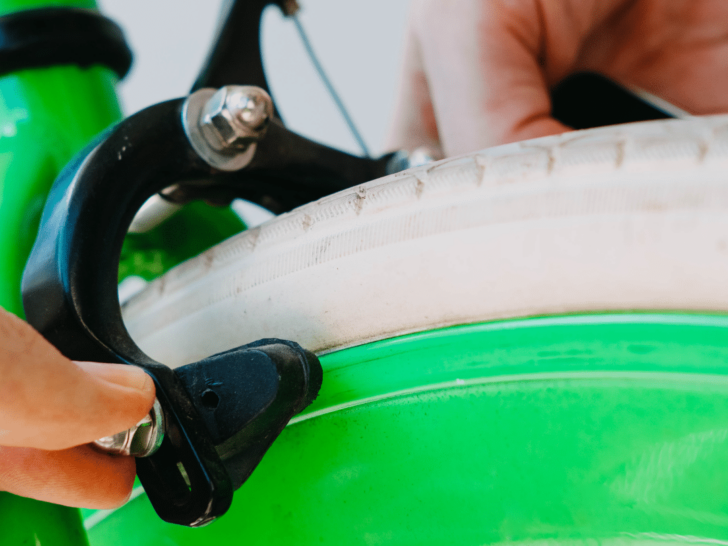
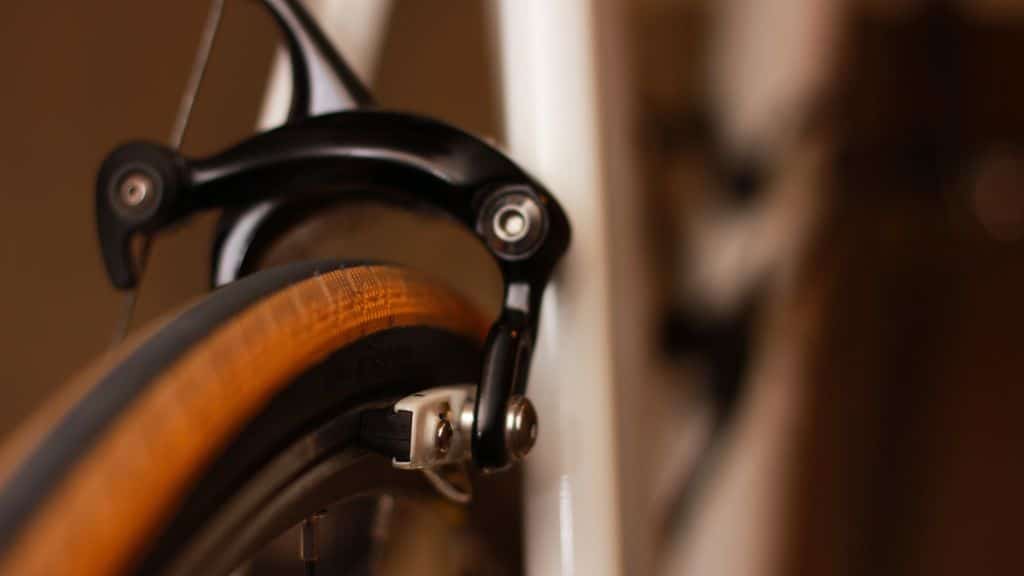
Rim Brakes
In this brake system, the wheel’s rims are designated as the braking surface. The caliper is attached to the frame, or the fork and the brake pads will enclose around the rim when the lever is pulled. Rim brakes are primarily present in road bikes, less costly variants of mountain bikes, and city bikes.
The most common types of rim brakes are caliper, cantilever, and v-brakes.
Caliper Brakes
Caliper brakes are mostly found on lightweight road bikes. They are connected to the frame or fork through a single bolt, and they are activated through the use of a cable. Direct-mount caliper brakes use two bolts to mount the calipers on the frame.
Caliper brakes can also be distinguished as a single-pivot or double-pivot, depending on how the calipers will pivot once the brakes have been activated. Double-pivot brakes are significantly more powerful compared to single-pivot ones, and they are more common in road bikes.
Cantilever Brakes
These types are primarily found in cyclocross bikes. However, they are being taken over by disc brakes due to their better functionality in wet and muddy conditions. Center-pull cantilever brakes have two arms present on each side of the wheel.
A central lined cable gets pulled upwards when the brake lever is pressed. This type of brake system has a much higher clearance than caliper brakes, allowing for better rides on muddy terrain.
V-Brakes
V-brakes are similar to cantilever brakes as they have two brake arms mounted to both sides of the wheel; however, the cable is also attached to the side, making the brakes direct-pull and not central-pull.
In central-pull brakes, both arms get pulled towards the rim. In contrast, in the direct-pull system, one component is pulled towards the rim while the other is pushed. V-brakes are simple, cost-effective, and provide adequate braking power for everyday riding. A lack of speed modulation is one reason for their reduced popularity among professional cyclists.
Disc Brakes
Disc brakes comprise a disc or rotor attached to the wheel, which acts as the braking surface instead of the wheel’s rim. The calipers are activated through the brake lever causing a piston to come out, and the brake pads enclose the disc. Dual or single-piston brakes can be distinguished by whether single or two pads are pressed against the rotor.
Disc brakes offer better braking performance and modularity when stacked against other barking systems. Their superiority becomes most apparent in wet and muddy conditions. They are heavier when compared to other brakes. Disc brakes can be classified into mechanical and hydraulic brakes.
Mechanical Brakes
Mechanical brakes use a steel cable to activate the caliper and apply the stopping force. Mechanical brakes are heavier and require more pressure applied to the lever to get sufficient braking power. They are cheaper in front of hydraulic brakes and are primarily seen in more affordable bikes.
This type of brake is far more complex to adjust and maintain, and it is more likely to cause problems with rotor rub. Cheaper variants display braking performance worse than basic rim brakes.
Hydraulic Brakes
Instead of using a standard cable, the hydraulic brakes utilize a completely sealed tube filled with hydraulic brake fluid. Once the lever has been pulled, the fluid inside the hose gets compressed, activating the caliper and pushing the brake pads against the disc.
Compared to mechanical brakes, this brake system offers superior stopping power and better modularity. Their adjustment is also far less complicated, but they are a lot more expensive.
Coaster Brakes
Coaster brakes are commonly featured on single-speed bicycles such as city bikes and cruisers. They are the most user-friendly and require no maintenance. All coaster brake components are contained within the rear hub.
They are engaged by pushing back on the pedals, which presses a brake shoe against the spinning mechanism inside the rear hub. As a result, the hub cannot rotate, and the bike slows and comes to a halt.
Although coaster brakes are inexpensive and straightforward, they lack modularity and can easily jam the back wheel. As a result, the tire skids reduce braking performance and increase braking distance.
U-brakes
A U-brake is a rim brake typically found on BMX bikes and old-school mountain bikes. In terms of operation, they are a cross between caliper and cantilever brakes. They comprise two L-shaped brake arms that cross over the tire and are positioned on each side of the wheel above the rim. The arms are held together by either a side-lined cable or a straddle wire carrier pushed by a braking cable.
Reasons Brakes Are Getting Stuck
There can be many reasons for your brakes not releasing. The reasons are similar regardless of the type of brake system being utilized. They can include issues with the rim or the rotor, defective cable routing, dysfunctional calipers, and many other reasons.
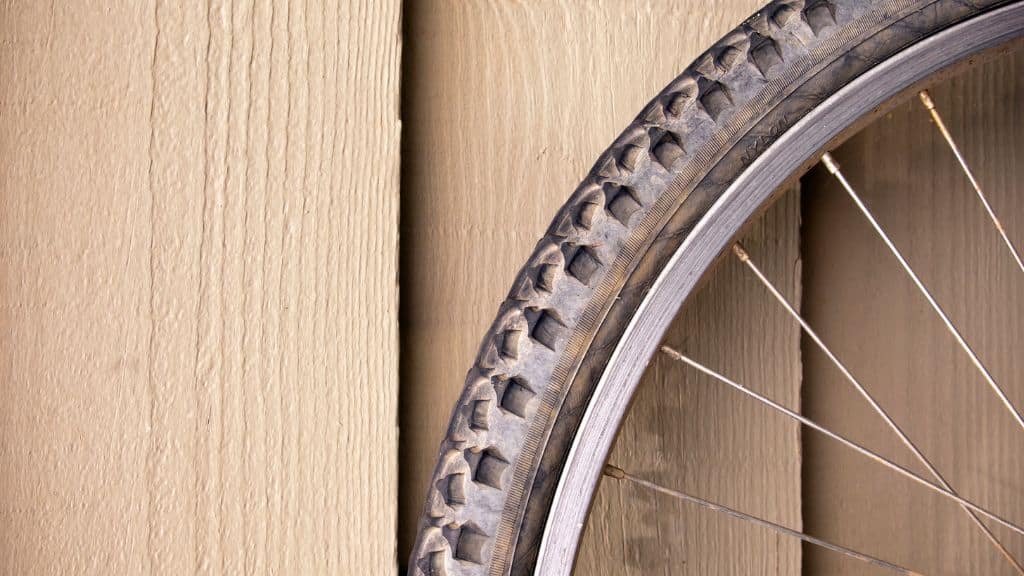
1. Damaged Rim Or Disc
An issue with the brakes sticking might not have anything to do with the brakes themselves but could indicate that the rim or rotor might be bent out of shape. For rim brakes, you will have to check the wheel by spinning it to see if it is spinning straight or wobbling.
Similarly, spin the wheel to inspect if the disc is damaged or warped visually. You will also be able to hear any disturbance as the bent rotor will make contact with the brakes creating a grinding sound due to the metal-on-metal connection.
Discs bent in one direction also lead to unequal piston engagement when the levers are pulled. If one of the pistons is pushed in too far, the other will have to compensate by coming out more than it should have.
2. Cable Tension
In mechanical brakes, the cable is responsible for moving the brake pads toward the rim or rotor when pulled with the lever. If the cable tension is too high, it will lead to the brake pads getting pushed down too hard, and they could get stuck in that position. You can check the cable tension by clamping down on the brake lever. If there is a high resistance in the initial travel of the lever, then the cable tension is too high.
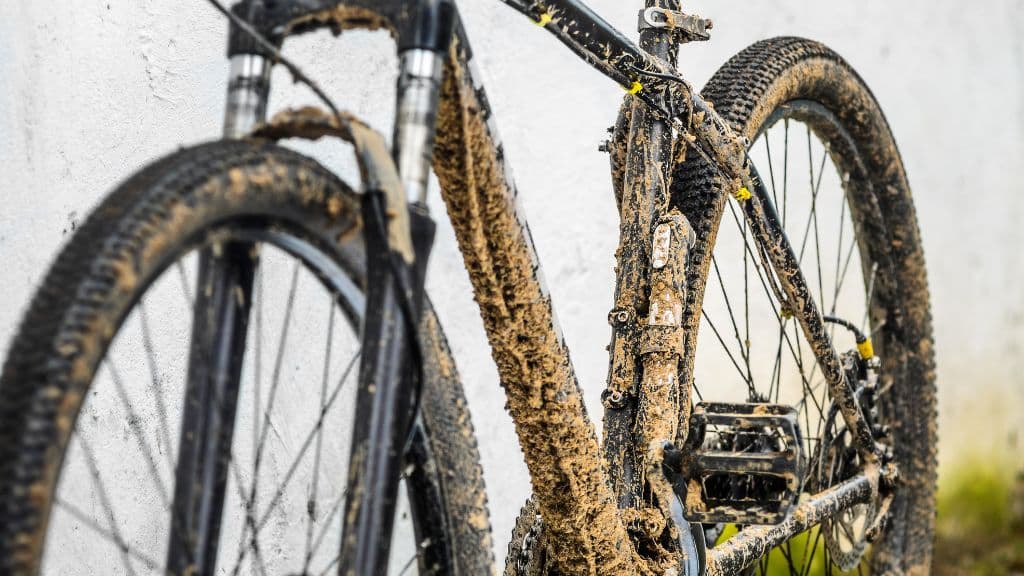
3. Dirt Buildup
Dirt tends to accumulate in all the crevices of your bike and disturb the system’s functioning. It can disrupt the release of the pistons and prevent the brake pads from moving toward the braking surface. The movement of the cables can also be diminished due to buildup as it would increase the resistance.
If the buildup around the braking surface is excessive, then the brake could get stuck once they have been applied.
4. Worn-out Brake Pads
The brake pads will wear out as you utilize them. The more they are worn down, the thinner they will become. The thinner they get, the further the pistons push to press them against your braking rotor or rim. Insufficient padding material will eventually impact how safely you can stop your bike.
Due to the increasing distance, the pistons have to push. They may get stuck. Your brake pads or whatever is left of them will be so close together that they may contact your rotor or rim even when you’re not squeezing the brake levers.
If your brake pads are around 0.64cm thick or less, then they are likely begging you to replace them, as its time for them to retire (source).
5. Friction In Cables
This indicates that the cable and its case have rusted, and it also suggests that your brake lever is damaged. Flexing the brakes with your hand will show you how much friction is present.
6. Kinks in Cables
If the cables are inadequately routed with kinks or bends, then it will disrupt the connection between the various parts. This can even be seen in brand-new bikes with a too-long cable connecting the lever and the caliper.
A kink is found when the cable protrudes out of its housing and is at an acute angle. It can occur when the bike has been in an accident or is old. It can lead to insufficient pressure being transferred to the brakes when you squeeze the brake levers.
This is similar to a water hose with a kink. The water is not able to pass through properly due to the acute angle of the hose unless you straighten it out.
How to Fix Brakes That Are Not Releasing
1. True The Wheel
If your rim is somewhat bent, you may reshape it by truing your wheel, which is a fancy term for altering the tension of your spokes until your wheel is straight again. Though time-consuming, the procedure is very simple.
If your wheel is severely deformed, this might indicate substantial damage. Look for fractures or sharp edges. Save time truing your wheel if you detect this damage as it’s time for a replacement.
2. Adjust The Cable Tension
After assessing if your brake cable is too tight or loose, you may make minor changes using the barrel adjuster. Turn the barrel adjuster clockwise or anticlockwise to tighten or loosen it. The tension in the cable will be increased or decreased as a result.
When you’ve tightened or loosened the barrel adjuster as needed, push the brake lever again to determine whether the problem has been resolved.
I also found this video quite helpful for addressing when your brake pads are rubbing on the rim on one side; by adjusting the cable tension:
3. Realign Caliper
For mechanical disk brakes, move the barrel adjusters on the lever. Loosen the cable pinch bolt to ensure the lever arm is freed and relaxed. This guarantees that the lever arm travels entirely when braking.
Tighten the cable pinch bolt and pull the cable tight to remove any slack. When tightening the pinch bolt, take care not to move the lever arm. This is significant since the lever arm has only a limited amount of functional mobility.
For hydraulic disc brakes, release both mounting bolts so the caliper body can rotate freely from side to side. Release the brake lever. This aligns the caliper body with the rotor. Squeeze the mounting bolts while holding the lever, and then release the brake lever.
After that, spin the wheel to check for pad rub. The pads are aligned if there is no friction. Tighten the mounting bolts to full torque and you are done.
4. Realign Rotor
Loosen the caliper bolts just enough to shift them from side to side. Rotate the wheel, and then manually adjust the caliper position until it no longer rubs or rubs at one location on the rotor. Tighten the bolts in different directions, a bit at a time, until they are snug.
If the rotor still rubs at one location, it must be straightened. If the problem is with the back wheel, shift to the smallest rear sprocket, pull the chain from the cassette, and hang it over the dropout. This will make identifying the rotor bend easier.
Turn the wheel and listen for rubbing noises. Stop the wheel where the rotor makes contact with the pads. Examine the caliper to check which pad the rotor is in contact with. If it’s the right pad, bend the rotor left, and vice versa.
Take note of which portion of the rotor is rubbing, then rotate the wheel until the bent area is free of the caliper. Pull the rotor a few millimeters in the opposite direction to the pad it was contacting with a rotor truing tool, adjustable spanner, or clean hands.
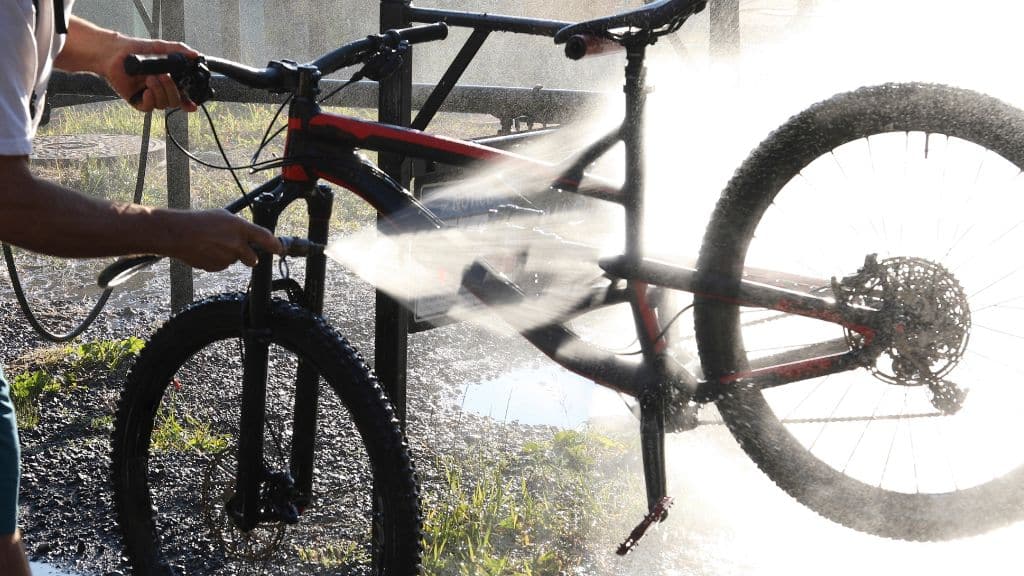
5. Clean Your Bike
Clean the brake pads and rim braking surface with a clean cloth after using a degreaser to remove any muck from crevices or exposed cable sections.
Avoid using bike lubricant on any brake components. Lubrication lowers friction, yet friction is what stops brakes. This is risky since it makes stopping your bike slower and more complex.
6. Replace a kinked cable
You may attempt to open the housing and straighten the cable yourself. However, this is quite tedious, and the kinked cable may already be damaged. Your best option may be to take it to your local bike shop or get a new cable to fix yourself.
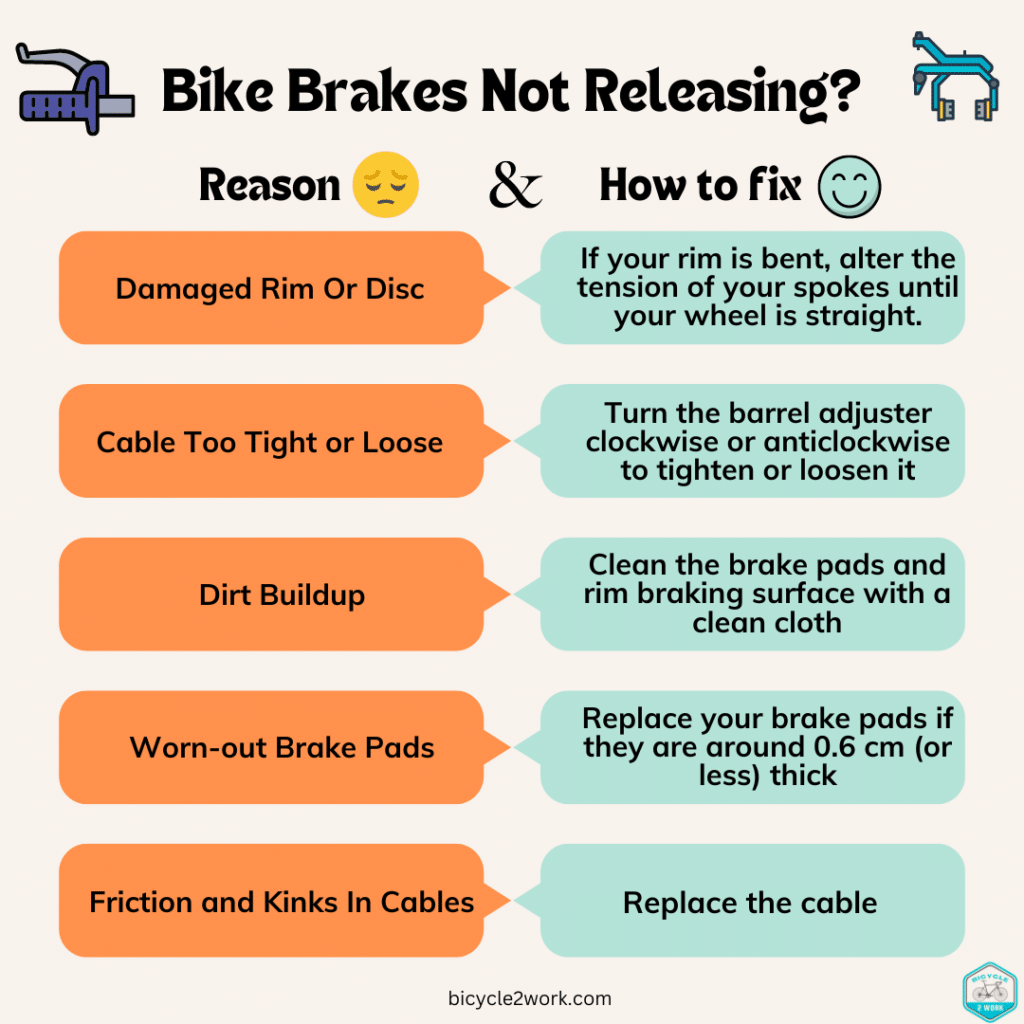
Here is a summary of all the reasons and fixes in an infographic. Feel free to share these with your biking friends as needed:
Conclusion
Understanding your bike’s braking system and following the advice to resolve stiffness concerns teaches you a lot about your bicycle, how to perform basic repairs to your brake system, and how to keep your bike in good, efficient shape. You might also save a lot of time, energy, and money by fixing specific issues, mainly if they are basic, such as a stiff brake or lever.