This post may contain affiliate links. If you click an affiliate link and make a purchase, I may earn a commission. Also, as an Amazon Associate, I earn from qualifying purchases.--
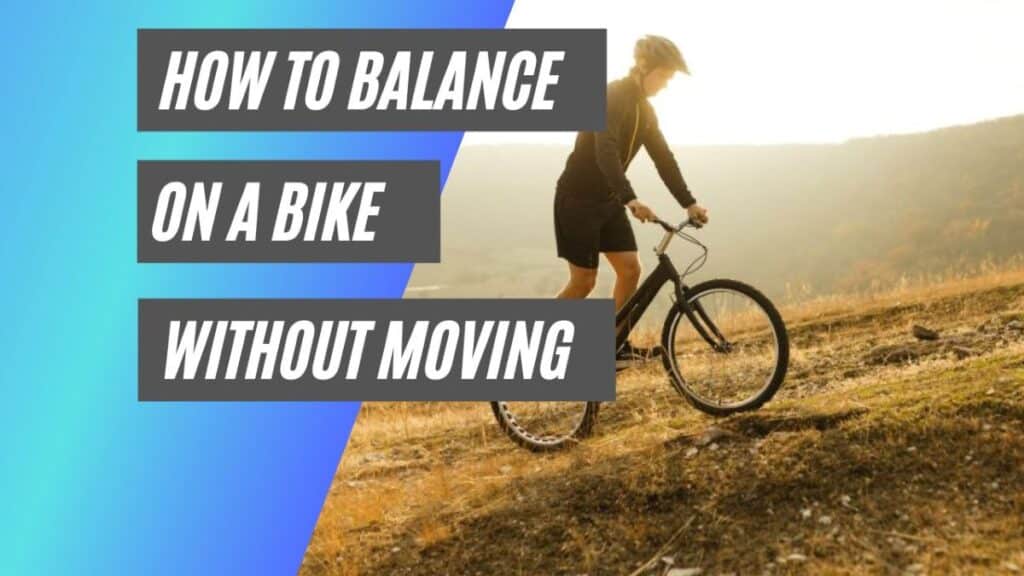
Picture yourself trying to balance on a bike without moving or pedaling. You’ll probably fall, right? This is because a bike is unstable when it’s static, as it only has two contact points with the ground.
An object needs at least three contact points to stay upright.
Learning to balance on a non-moving bike, or track standing, is a useful skill to help you ride quicker through traffic. With the right approach and regular practice, you can learn how to do this.
In this article, I’ll teach you how to balance on a bike without moving like a pro through seven easy steps.
Why Would I Learn?
You might think track standing (balancing without moving) is a skill for professional mountain bikers, but it’s a useful tactic even for regular roadies. The purpose of it is to allow you to stand on your bike when it’s not moving, and without having to remove your feet from the pedals.
This balancing technique helps if you’re on the road, as you can stop at red lights or stop signs, and then quickly take off when it’s time.
Track standing is also convenient if you’re on a mountain bike, as you can stop to look at a drop as you approach it before moving further.
Additionally, Learning to track stand will improve your overall balance on the bike and help you have smoother rides.
So keep reading, as we teach you not only a skill that will come in handy on the road but a cool trick to show off to your friends as well.
How To Balance On A Bike Without Moving – 7 Steps
1. Choose Your Bike
When you’re starting off learning the skill, mountain bikes are better for practice since they have wider tires and an upright build.
But don’t sweat it if you don’t have one, any road bike will do.
For reference, here’s a quick comparison between both.
| Road Bikes | Mountain Bikes |
| Suitable for all paved roads (streets, country lanes, etc.) Curved handlebars Narrow tires Straight riding position Lightweight Small rear cassette Harder to balance on without moving | Suitable for offroad tracks and mountains Flat handlebars Large and wide tires Forward-leaning riding position Heavier weight Cassettes with more individual gear Easier to balance without moving |
2. Find an Open Road
Much like the first time you learned to ride a bike, learning track stands will take some time and practice. So, you need space to wobble around freely without compromising anyone’s safety.
It’s better to find an uphill road, as it will give you the resistance needed to curve your bike.
3. Practice Balancing
When it comes to track standing, balance is key.
When you’re riding your bike, you’re using the momentum while moving to help you balance. The slower you go, the less momentum there is and the harder balancing becomes.
This is when you have to rely on your sense of balance and your connection with your body. #This step might be a bit tricky at first and will probably take you a few tries. However, once you get the hang of it, the rest will be easy.
Get on your bike, start pedaling, and slowly come to a stop. As you are slowing down, stand up on the pedals with one foot forward. It’s important to tightly clench the handlebar for support.
Your balance starts from your feet, as they are your foundation.
Firmly press your feet on those pedals to keep your position and find a stability point. Don’t clench yourself too hard or you’ll lose your balance.
It’s essential to keep your body weight centered. Also, you should keep looking forward.
You’ll be tempted to look at the ground, but try to resist the urge as it could throw off your balance. If you feel like you must look, slightly look down with your eyes while keeping your head forward.
Here is a brilliant short video from Global Cycling Network, where a rider demonstrates the techniques used to help you balance (it’s only about 1 and a half minutes long):
4. Curve Your Wheel
Once you come to a stop, gently push the brakes and turn your wheel towards your lead foot (the one on the top pedal).
Now, you want to turn your handlebar ever so slightly left and right to find balance, however, don’t completely change the direction of your wheel as big movements will disturb your balance.
So, if your wheel points to the left, keep it pointing that way, and make gentle movements.
5. The Switch Foot Method
As you stand, keep your legs slightly bent.
It’s also important to keep your feet centered on the pedal for proper balance. Therefore, you should avoid getting on the balls of your feet. Now, make gentle movements with the bike to keep it from falling.
Push down your lead foot and pull the back foot up (as if you’re starting to pedal) to slightly move the bike forward.
Then reverse the movement; push down the back foot and pull the lead foot up. This will return the pedals to your starting point.
Alternate between those two movements (unweighting and pushing your weight down) to stay balanced. When you’re ready, start moving, then stop and repeat this whole exercise.
6. Minimize Your Movement
Now that you’ve learned how to stand while pedaling back and forth with your feet, it’s time to do it with more stillness. This doesn’t mean that you will be still, but you will be making fewer movements for more balance.
In this step, try to stay relaxed because the more relaxed your body is, the stiller it will be.
Whichever foot you have at the front, apply light pressure to it and focus on centering your body over your bike’s bottom bracket.
If you start falling to the left side, push your foot harder on the pedal. If you start falling to the right side, ease the pressure from the pedal. Keep practicing till you find the perfect balance with minimum body movement.
7. Practice and Then Practice Some More
Did I mention that you have to practice? Like any new skill, track standing will take some time to learn. If, at first, you fall (and you will), don’t be discouraged.
Those pros you see out there had to start somewhere, and so do you.
Start slow and practice track standing for about five seconds per trial. As you gain confidence, build up to more time. Sooner than you think, you’ll get the hang of it.
A Few Tips To Track Stand Like A Pro
Now that you’ve got down the technique behind track standing, let’s discuss some extra tips that will help you during your learning process:
Put The Seat Down
When you do a track stand, you’re getting off your seat.
You want to allow yourself to move freely. The higher you are on your bike, the harder it will be to stand.
So, adjust your seat to a position where you stand and sit back comfortably.
Use Flat Pedals
As opposed to clipless pedals, using flat pedals won’t leave you stressed about getting unclipped. As we mentioned, being relaxed is important for keeping your balance.
So even if you’re used to clipless pedals, switch them up for flat ones while you practice, then you can go back to them after you’ve mastered the technique.
Bike Check
The maintenance of your bike is essential. Here are a few quick checkups you could do before you get on your bike:
- Check the tire pressure (if the tires feel lose or squishy, they need to be filled with air)
- Spin your wheels, if they wobble, they need truing
- Test your brakes and make sure both are working fine
- Add lube to the chain if it looks dry
If you need to, visit your nearest repair shop for a full checkup on your bike. Do this every few months to avoid any problems.
Safety First
As we mentioned, you’ll probably fall a few times while learning to track stand. While those falls are part of the process, having good safety equipment will surely help.
You will need a helmet, cycling gloves, and knee and elbow pads.
Wear Something Comfortable
It’s better to wear clothes suitable for cycling. You will need something sporty and flexible to move freely (so avoid wearing jeans).
It’s also preferable not to wear long pants that are too long, as your ankles will be too close to the gear when you stand. So you don’t want your pants to get caught in it.
Have Fun
Reaching your goal of track standing will take some time and effort, but this doesn’t mean it can’t be fun. Try not to think of it as a mission but as a fun activity.
If possible, film yourself while practicing to see your progress later. You might have a few laughs, but you will also notice your mistakes and work on them.
Final Thoughts
Learning to balance on your bike without moving is a useful skill that could be acquired by following the seven steps in this article. You should aim to practice daily, and gradually beat your own record by increasing your balancing time.
It’s also essential to make sure your bike is in a good condition and that you have the necessary safety equipment while practicing.