This post may contain affiliate links. If you click an affiliate link and make a purchase, I may earn a commission. Also, as an Amazon Associate, I earn from qualifying purchases.--
Do you have a bicycle chain that skips while you ride, especially when under load? If so, you know how annoying it can be. Not only is it an unpleasant experience, but it can also be dangerous as it can cause a sudden loss of control.
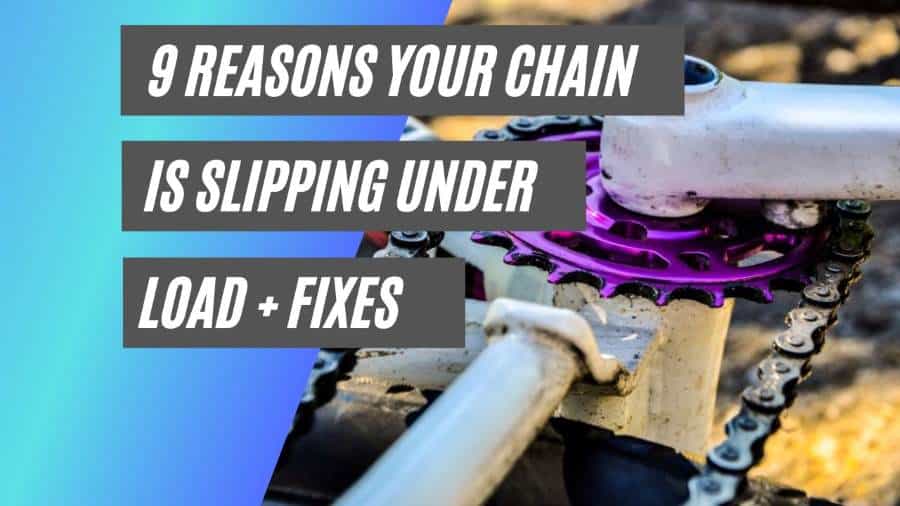
Chains normally skip for one of nine reasons, which are:
- Gear indexing problems
- Poor cable tension
- A worn-out chain
- Damaged cassettes
- Incorrectly installed drivetrain parts
- Improper lubrication
- Derailleurs out of tune
- Rigid chain link
- Dirty components
Fortunately, there are some easy fixes you can do to get your chain running smoothly again for all of these problems.
In this blog post, I’ll discuss the nine most common reasons why your chain is skipping under load, how you can identify each, and how you can fix them all.
1. Gear Indexing Problems
One of the most typical causes of a skipping chain is a drivetrain that needs an indexing adjustment.
In fact, this is so prevalent that it can occur even in many brand-new bicycles. Fortunately, this is one of the simplest problems to identify and correct.
Turning a barrel adjuster or resetting cable tension and re-indexing the gears as directed by the manufacturer typically restores normal operation.
How To Fix (Rear Gears)
- Put the gear selector in the highest gear possible. Some switches have corresponding numbers on the levers. The topmost digit denotes the most powerful switch.
- Adjust the derailleur by releasing the cable.
- Turn the barrel adjuster back to its original position. First, rotate it clockwise until it stops, and then counterclockwise twice.
- Choke off the slack in the gear cable. Pull the cable tight and put the gear selector in the park.
- The B tension screw must be set. Put the gear in the backmost, lowest gear.
- Adjust the back gears.
- Try the gears. To check the indexing of the gears, use the right-hand gear lever to move the chain up and down the sprockets.
2. Poor Cable Tension
This is another pretty common issue that you may be experiencing.
Since cables stretch over time, this can mimic the symptoms of a chain that has skipped due to improper indexing adjustment, but it can also occur in a fully indexed drivetrain.
A cable malfunction can affect any bicycle.
Lack of maintenance and replacement of cables on older bicycles leads to corrosion in the housing and high friction in the shift cables, which in turn leads to poor shifting performance and, you guessed it, chain skipping when pedaling.
How to Fix
First, examine the tightness of your cables if your bicycle chain is slipping.
To tighten the cable, undo the bolt holding the clamp to the cable and spin the tensioner clockwise.
The last step is to retighten the bolt holding the cable clamp. The derailleur should then be checked to ensure it is set up properly. The chain can slip if the cables aren’t tight enough.
If not, make the necessary adjustments.
3. Worn Out Chain
This should be one of the first things you examine if your chain is skipping and your bike is old or heavily used.
To keep your drivetrain in top shape, you should replace your chain at regular intervals because chains wear down over time. A chain checker is a useful device for determining whether or not a chain needs to be changed due to wear and tear.
If it doesn’t work, and you’ve already ruled out gear indexing and cable tension, then a worn-out chain is a fair bet.
How to Fix
When a bike chain skips, it is often because the chain is old and worn. To solve this problem, you need to determine whether or not you should replace the chain.
- Your bike’s chainrings should be adjusted such that the largest one is in front and the smallest one is in the rear.
- Take the chain out of its usual setting and inspect the space between the gears of the chainrings and the chain itself.
- If the gap is too wide, you may need to get a new one that fits. If not, the chain can still serve its purpose.
If you’re not sure when it is the right time to replace your chain, then here’s an excellent video from Park Tool about exactly that:
4. Damaged Cassettes
Sometimes it is too late to simply replace the chain if it is too worn and strained.
If your chain is well past the recommended replacement point, you may also need to replace your cassette at the same time.
This is because the cassette cogs will be too worn for a new chain to work smoothly, even if it were installed at the factory.
Skipping chains are a common problem on bicycles, and they can occur even with a brand new chain on a very old cassette when the bike is put under strain.
How To Fix
I’m afraid there’s no DIY miracle you can perform here. The fix is to get a new cassette.
5. Incorrectly Installed Drivetrain Parts
It’s easy to make mistakes if you’re not familiar with component compatibility and interchangeability in the realm of the modern bicycle drivetrain.
You should probably avoid doing any complex repairs or maintenance on your bike unless you really think you know what you’re doing.
Sometimes, if you’ve installed new features in your drivetrain, these could be the source of the slipping chain.
Let me give a concrete example of how this might look in reality…
Many modern Shimano and SRAM drivetrains, for instance, utilize directional chains. What this means is that there is a specific order in which the chain links should be attached to the drivetrain so that the gears and chainrings are properly aligned for smooth shifting.
When riding a bike with this type of drivetrain, if you don’t get this right, you’ll likely experience chain slide or, at the very least, a lot of extra noise and less-than-ideal shifting.
Furthermore, new 11, 12, and 13-speed drivetrains require fine tolerances to operate properly. It’s important to pay attention to the “B-tension” adjustment, as specified by Shimano and SRAM, when setting up the rear derailleur, or else you can be plagued by those bothersome phantom shifts.
How To Fix
The big thing here is identifying what you’ve done wrong and trying to rectify it!
Top tip – if you’ve recently changed something mechanical, and the chain starts slipping from that point, it’s probably the reason.
6. Improper Lubrication
Lack of sufficient lubrication is another contributor to a skipping chain.
Your bike may be experiencing problems like this because it has been sitting in the sun for an extended period without adequate shade, which can cause the chain and sprocket to dry up.
Your chain will rust and decay and eventually break under stress if you don’t get it mended. It’s not good to have either too little or too much lubrication. (Source)
How to Fix
The best way to find the right balance is to play around a bit and see what works best for you and your bike.
Lubricating your chain properly is essential, as using too much will generate a buildup of dirt and grime that will make your chain slip.
7. Derailleurs Out of Tune
When the derailleurs aren’t properly aligned, the gearing suffers.
When the chain is not properly aligned, shifting to a different gear is much more difficult, and it may even skip gears or come off altogether.
That’s not only reckless, but it could end up wrecking your bike in the long run.
How to Fix a Rear Derailleur Chain Skip
If your rear derailleur is skipping, try shifting your chain into the largest ring on your front derailleur and the smallest ring on your rear cassette (the hardest gear).
Hit the shift button once. You need to apply more tension to the chain if it does not shift up a gear.
The brake cable enters the shifter via a barrel adjuster on the right side of the brake; therefore, twisting it in the other direction from where the lever is will modify the cable’s length.
To loosen the adjuster, turn it a half turn in the opposite direction of your thumb.
If you want to be sure your bike is shifting correctly, try dropping down into the rear cassette’s smallest ring and pressing the shifter again.
If the bike still doesn’t shift, try starting from the beginning.
Shift through the rest of the cassette’s gears, fine-tuning as necessary with the barrel adjuster once the first cog has shifted properly.
How To Fix A Front Derailleur Chain Skip
The front derailleur, which also has a barrel adjuster, can be set using a similar method.
The tensioning direction of the front derailleur barrel adjuster is counter to that of the rear. Turn the knob in your direction to increase tension.
There may be a need for a mechanic if changing the barrel does not fix the shifting problems. If the cables need to be tightened at the derailleur, it’s likely that they were initially installed at the wrong tension.
There’s also the possibility that your derailleur or derailleur hanger is damaged after a fall.
8. Rigid Chain Link
Incorrect installation is the most common cause of stiff chain links, but forceful gear changing and rust can also contribute to the problem.
They can cause the entire chain to come off since they don’t bend around the cassette properly.
How To Fix
The following procedure can be used to loosen and repair stiff chain links:
- Apply chain lube; sometimes, this is all that’s needed to loosen up a stubborn link. Use a high-quality lubricant. Put down the WD-40!
- If you have a chain tool on hand, you can loosen the stiff link by watching the chain leap as it goes over the lower jockey wheel, which will reveal the location of the stiff link.
- You can fix the weak link manually, or you can try to loosen it. Make sure you rotate the links on either side of it by 90 degrees.
If the problem persists after trying these steps, you should have your bike serviced by a professional. It’s possible that you’ll need to replace the chain altogether.
9. Dirty Components
The derailleur or back cassette of your bike may be slipping because of dirt buildup.
It is common for grime to collect in the spaces between the cogs and the teeth of the front and rear sprockets.
When dirt gets into these crevices, it rubs against the two pieces and causes the gear system to skip. This can occur if the rider encounters thick mud or rain, which clogs the gears.
How To Fix
Regular cleaning is especially important if you’ve been traveling over particularly harsh terrain. Don’t wait too long to clean; otherwise, the dirt will form into lumps that will wear out your gears and other moving parts.
If you’re looking for the fastest way to clean your bicycle chain, then the fastest technique I’ve found is this one from GCN Tech. They reckon you can clean your chain in three minutes using this technique:
One Bonus Tip – The Significance of Chain Tension
Having the optimum amount of tension is essential for a bike chain to work.
If your bike chain keeps coming loose, you need to locate the tightest link and secure it there.
The chain should then be tightened to the point where it can only be pulled up or down by around 1.5-2 cm. You may achieve the perfect tension for your bike chain only at that point.
The first step in preventing a multitude of problems is determining the correct bike chain size.
The number of links in the bike chain should be precise. Think about the chain’s breadth when it’s pulled over the biggest sprocket and biggest chainring. By shifting the back wheel in the frame’s dropouts, you may fine-tune the chain’s tension.
When it comes to bicycle chains, manufacturing tolerances are also crucial. Even among similarly priced bike chains, the tension can vary slightly due to the production tolerances.
Never take a new bike or chain out for a ride without first adjusting the chain tension to the proper level. (Source)