This post may contain affiliate links. If you click an affiliate link and make a purchase, I may earn a commission. Also, as an Amazon Associate, I earn from qualifying purchases.--
Signaling on a bike without falling can be tricky if you’re not used to riding handless. It needs a lot of balance, coordination, and familiarity with the proper techniques.
You have to get used to it little by little, though, as signaling incorrectly or not signaling altogether can put you and others at risk.
To signal on a bike without falling, you should practice taking one arm off the bike, analyze where you are going, check for traffic, and don’t look down (to help maintain balance). When practicing, ensure to do so in a level, empty street.
In this article, we’ll discuss how to signal on a bike without falling.
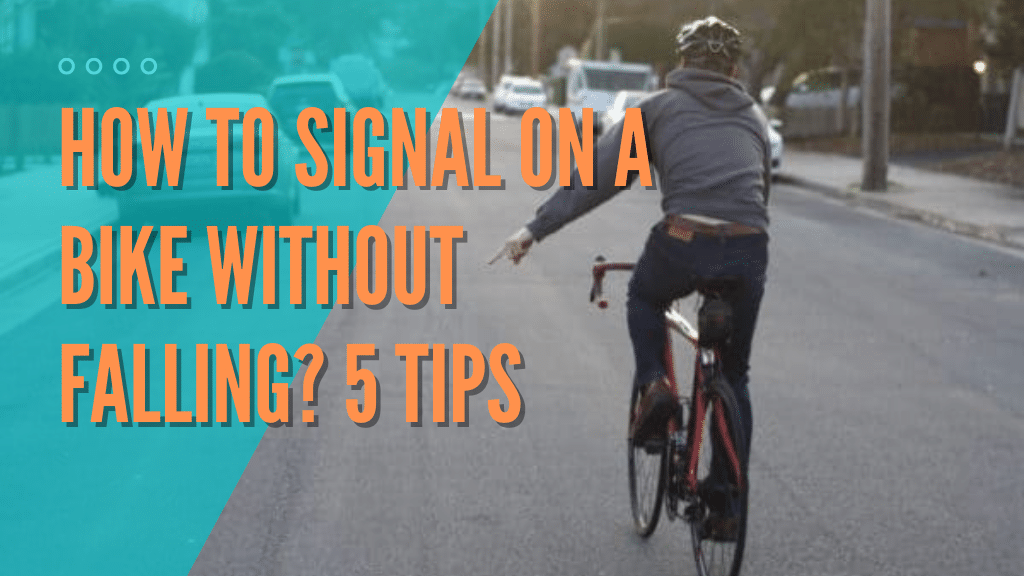
How to Signal on a Bike Without Falling?
Whether you’re new to riding or you haven’t practiced riding one-handed, signaling can be a little scary.
However, it’s a skill that you have to learn, especially if you cycle a lot. So, here are a couple of tips to help you get there.
1. Practice Riding With One Hand
This is the hardest part yet and you have to take your sweet time doing it. That said, the process is divided into two parts:
- Practicing removing your hand while in motion
- Using your center of gravity to turn by leaning
Start by hovering your hand over the bar without completely removing it. Additionally, try to move the bike to the sides by leaning to the left or right instead of using the handlebar to do so.
You’ll need to add more pressure to the bar with your other hand. Do this while focusing on curving right and left with your body weight and legs—all while not moving the handlebar.
After you’ve gotten a hang of both those things through practice, you can start moving your hand further away from the handlebar and using it to wave quickly. Then, move on to extending how long you keep your hand off the handlebar.
Once you get to that point, you’ll be able to signal with your hand without falling off. Afterward, you can move on to riding without using either hand on the handlebar once you get a grip on the first technique.
Generally speaking, being able to use your hands is a lot more convenient. Not to mention, riding without using your hands does wonders for engaging your core!
A Quick Tip
Just like it’s easier to balance yourself while pedaling when you start cycling, it’s also easier to take your hands off of the handlebars if you’re pedaling.
Cycle in level, empty streets, and practice taking your hands off the handlebar while pedaling.
Little by little, you’ll be able to do it, and then you can move on to taking them off with your feet stationary as well.
2. Look and Analyze Where You Want to Go
Before you decide on signaling, make sure that you’ve taken in the entire environment. This step requires some planning and strategizing.
After a while, you’ll realize that these movements come naturally. Other drivers, motorists, and pedestrians will pick up on where you’re intending to go.
3. Check for Traffic
It sounds harder than it is, but you have to have some awareness of where the surrounding cars, pedestrians, and motorists are.
There’s a lot of logic that comes into play here. If there’s a space to the right of a vehicle, a motorist could take over using that space—that’s why you shouldn’t cycle in that area.
This is especially true if the vehicle is a bus or a big truck, which blocks the motorist’s visibility.
Moreover, paying attention to the wheels on the other vehicles can give you a huge advantage of knowing where they’re planning to go.
So, look up to check how many cars there are, where the spaces for nearby cars to take over are, and other elements that could affect the ride.
Then, look down at the wheels of the vehicles to see whether they’re starting to slant in one direction or the other.
4. Use Your Dominant Hand
By all means, it’s better to use the hand that points in the direction you intend to go. However, at the start of your practicing phase, it can be hard to use both hands.
So you can start with your dominant hand first, as it’ll be easier to balance yourself with the movements you make with it.
Using your non-dominant hand to signal requires extra effort, which takes your focus off the balance, and you end up being unstable on the bike.
5. Don’t Look Down
As a rule of thumb, looking at your feet to admire your steps is a surefire way to fall.
Whether you’re walking a tightrope, balancing on a bike without moving or walking across transparent floors: looking down makes you feel like you’re losing your balance.
That’s why you should always keep your chin up and approach your turns with your head up high, especially while you’re signaling.
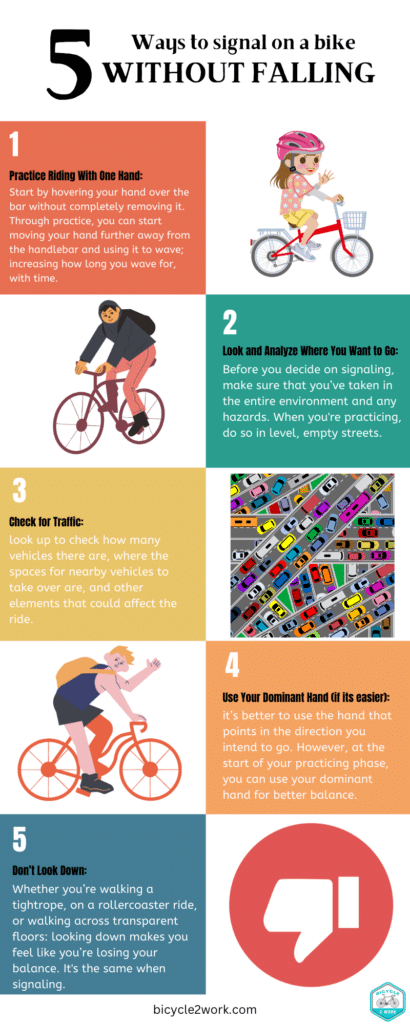
Here’s an infographic with all of the tips in one place. Feel free to refer to it and share it with your cycling friends:
Essential Signaling Knowledge
Apart from practicing the technique, you have to also know how to communicate your intentions properly. Here are some of the most basic and important movements to learn while signaling with your hands on a bike.
1. Turning Right or Left
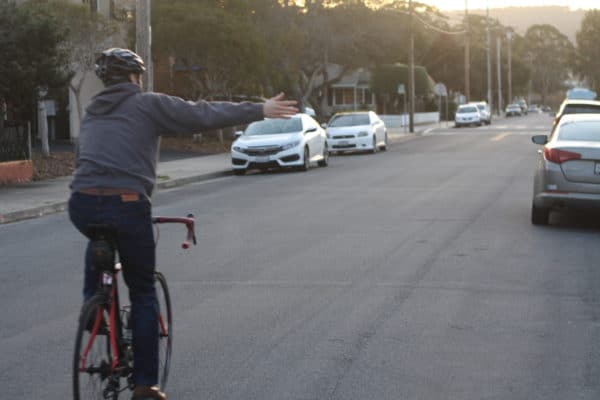
This one’s pretty easy. You simply have to extend your arm and point in the direction that you’re going to go.
Alternatively, you can resort to swinging your arm up and down if you want the movement to be more visible to others on the road.
What If I Know How to Signal With Just One Hand?
If you’re still practicing and can only get the hang of signaling using just your dominant hand, don’t fret.
You can indicate that you’re turning in a certain direction by putting the opposite arm in a right-angle position.
In other words, if you want to turn left but can only signal with your right arm, hold your right arm with your upper arm parallel to the ground and your forearm at a 90-degree angle to it.
2. Stopping
If you want to communicate that you’re going to stop, raise your hand at head level, or higher, with your palm facing forward.
You can also extend your upper arm parallel to the ground and point your hand down with your palm facing back. If you want to make it clearer, though, move your hand slightly.
It’s important to use the stop signal when you’re still ahead and then slowly reduce your speed until you come to a halt.
3. Slowing Down
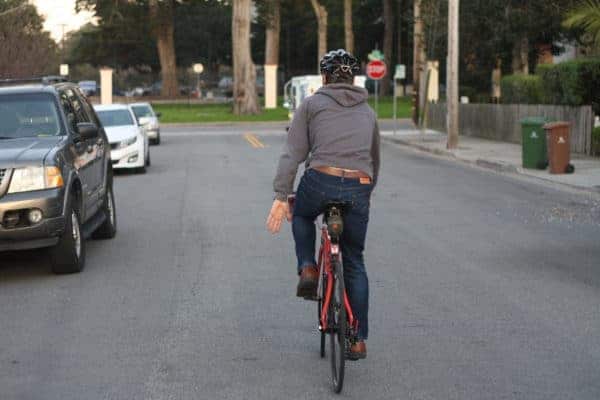
Extend your arm to the side with your palm facing down. Then, move your hand up and down quickly.
This way, other people on the road will know you’re planning to slow down, but not intending to stop completely.
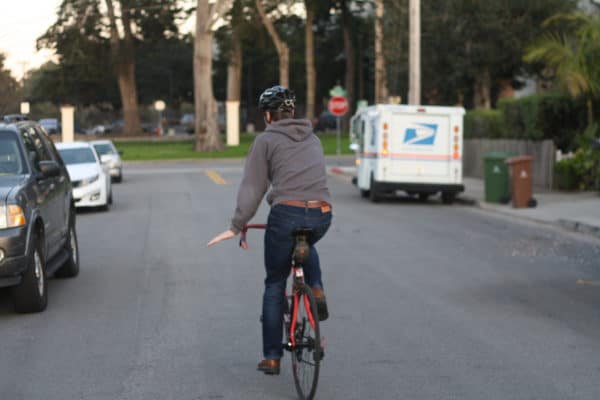
4. Signaling an Object or Hole
If you want to alert other riders of an object or a pothole, you can extend your arm and point to the ground.
You can also put out your arm with your palm facing back and move it up and down.
Alternatively, extend your elbows while grabbing the handlebars and move your elbows forward and backward.
5. Signaling a Dirty or Rough Ground
Extending your arm and facing your palm downward while moving it to the right and left alerts other riders that the road ahead is dirty and can be a little tricky to maneuver.
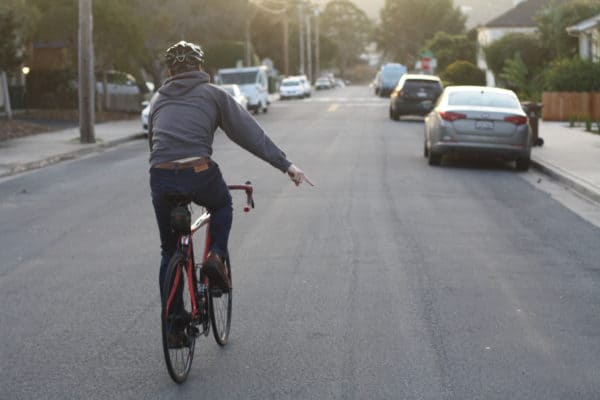
6. Signaling Vehicles to Take Over
Sometimes, you want to slow down to take a turn and need to signal the vehicles behind you. That way, other drivers can decide if they should stop or continue down their path.
To do so, steer clear from the center of the road. Then, extend your arm and move it back and forth. The movement looks like you’re urging someone to keep walking or driving.
This lets others know that they shouldn’t wait for you to go quicker and takes away from the stress you feel when you’re obstructing traffic.
7. Dodging
Extend your arm behind you with your elbow bent and move your hand to the left or the right, depending on which side you’re going to move to dodge the object.
This lets others expect the sudden shift in your lane and allows you space for it.
FAQs
How to Look Over My Shoulder While Cycling?
If you don’t have mirrors or don’t want to add them to be able to go faster and engage in maneuvers, then learn how to look over your shoulder.
It’s easier to do so if you stop pedaling and lean forward a little to improve your balance.
Additionally, make sure to slightly push the handlebars in the opposite direction of where you want to look. Otherwise, there’s a high chance you’ll lose your balance.
Are There Alternatives to Hand Signaling On a Bike?
Yes. You can add LED bicycle turn signals. They work the same way the lights on a car would, letting others know of your intentions through the lighting of the LEDs.
Final Words
Practice makes perfect, and when it comes to how to signal on a bike without falling off, you’ll get there, eventually.
Aim for small distances without moving your hand away completely. Build up the courage and balance, and then start cycling with one hand off the bars.
After you’ve mastered that, move on to signaling with your hands.
